Enable CMS on your project
Enabling the CMS is a one-toggle change in the Console. It provisions a dedicated Payload tenant for your project and turns on billing for the CMS line item on your Stripe subscription.
:::info Who can do this You need the admin role on the project. Members see the toggle in read-only state and cannot flip it. :::
1. Open project settings
Sign in to the Console at console.sandbox.ovok.com (or your tier's console — see Release tiers), pick the project you want, then open Settings → General from the sidebar.
The page URL is /settings/general.
2. Find the Payload CMS section
Scroll to the section titled Payload CMS (eyebrow: CONTENT). It looks like this:
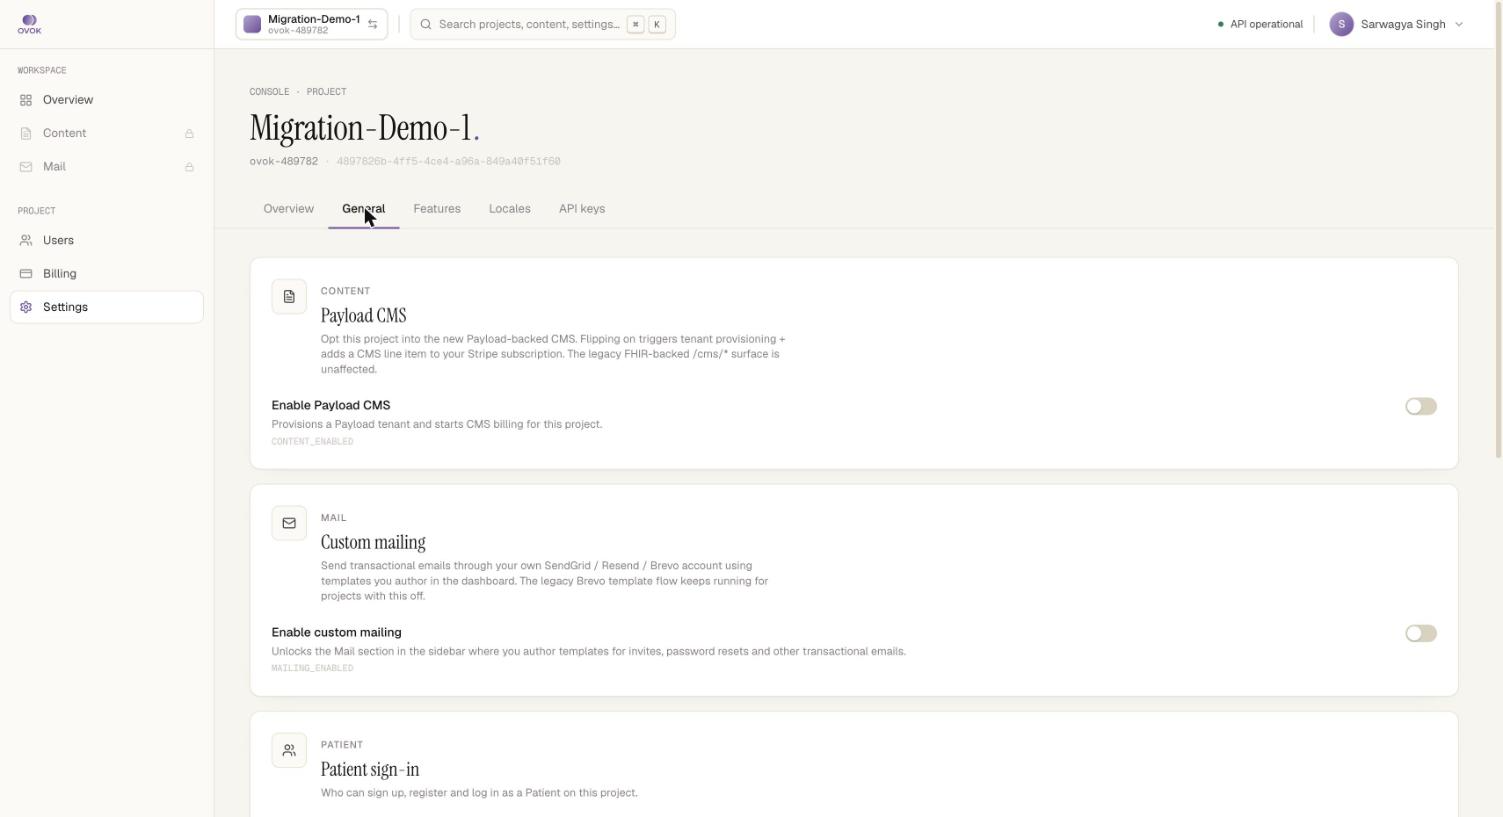
CONTENT > Payload CMS
Opt this project into the new Payload-backed CMS. Flipping on triggers tenant provisioning + adds a CMS line item to your Stripe subscription. The legacy FHIR-backed
/cms/*surface is unaffected.☐ Enable Payload CMS — Provisions a Payload tenant and starts CMS billing for this project. Config key:
CONTENT_ENABLED
The card next to it is Custom mailing (MAILING_ENABLED) — a
separate, independent toggle. Don't flip it by accident.
3. Flip the toggle
Click Enable Payload CMS. Behind the scenes the Console:
- Calls
PUT /v1/project/settings/CONTENT_ENABLEDwith{ enabled: true }to flag the project. - Calls
POST /v1/cms/projects/{slug}/environmentswith{ "environment": "dev" }to enable CMS on the control plane. That provisions the Payload tenant idempotently via payload-ovok. - Adds a
cmsline item to the project's Stripe subscription so usage is billed alongside the platform.
The toggle picks up an Enabled badge once provisioning completes. First-time provisioning is typically under 10 seconds.
4. Open the CMS
The Content entry in the sidebar becomes live. Click it to land on the CMS dashboard for the project — collections, media library, drafts, publishing.
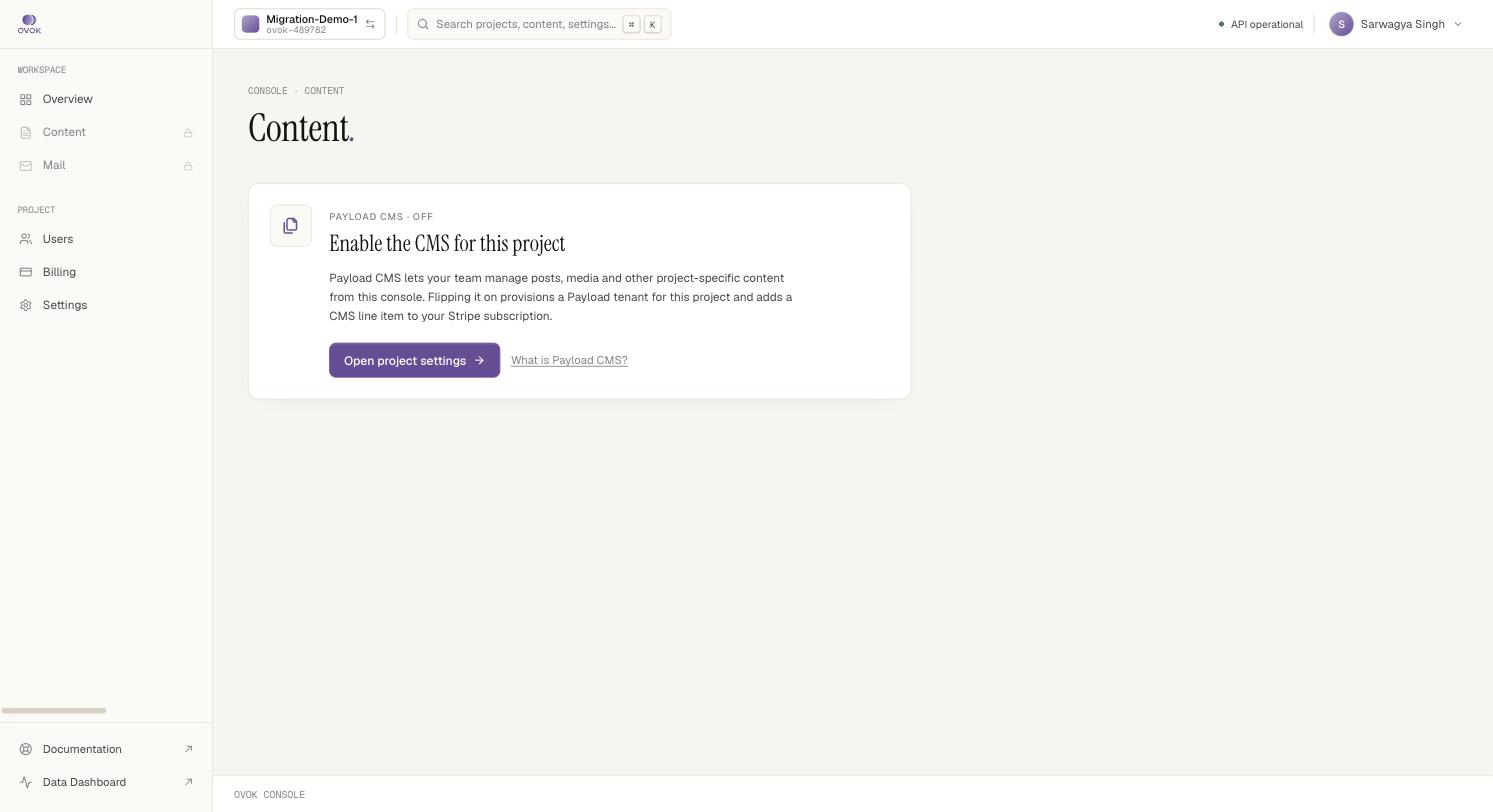
If you visited /content before enabling, you would have seen a
"Payload CMS · Off" card with an Open project settings button —
that links straight to the toggle above:
5. Mint a delivery API key
For your frontend or mobile app to fetch published content, you need an API key. From the Console, go to Settings → API keys → CMS and create a key. Treat it like any other secret. See API keys for details on scoping and rotation.
What changed under the hood
| Before enable | After enable |
|---|---|
/v1/content/* requests return 403 | /v1/content/* forwards to your tenant |
/v1/public/cms/* returns 404 | /v1/public/cms/* serves published items |
| No CMS line item in Stripe | CMS line item is active and metered |
| Console sidebar omits Content | Console shows Content + sub-menus |
Turning it off
Flipping the toggle back off:
- Stops new authoring writes (
/v1/content/*returns 403). - Pauses billing for the CMS line item at the next invoice boundary.
- Does not delete your tenant or content — flipping back on restores full access immediately.
If you need to permanently delete CMS data, contact support; we don't expose self-serve hard-deletes from the Console to avoid accidents.
Troubleshooting
"Failed to enable Payload CMS" in the Console → the most common cause is the project lacking an active subscription. Open billing first, make sure you have a payment method on file, then retry.
/v1/content/* returns 403 even after enabling → wait ~10 seconds
for tenant provisioning to settle, then refresh. The first authenticated
/v1/content/* call can also self-heal tenant resolution if the control
plane row exists but the Payload tenant was missing.
Deleted the tenant manually in Railway / cloud console → don't.
Re-enable the environment from Settings → General (calls
POST /v1/cms/projects/{slug}/environments again) or contact support.
Next
- Authoring — write content programmatically
- Public delivery — read content from your apps
- API keys